
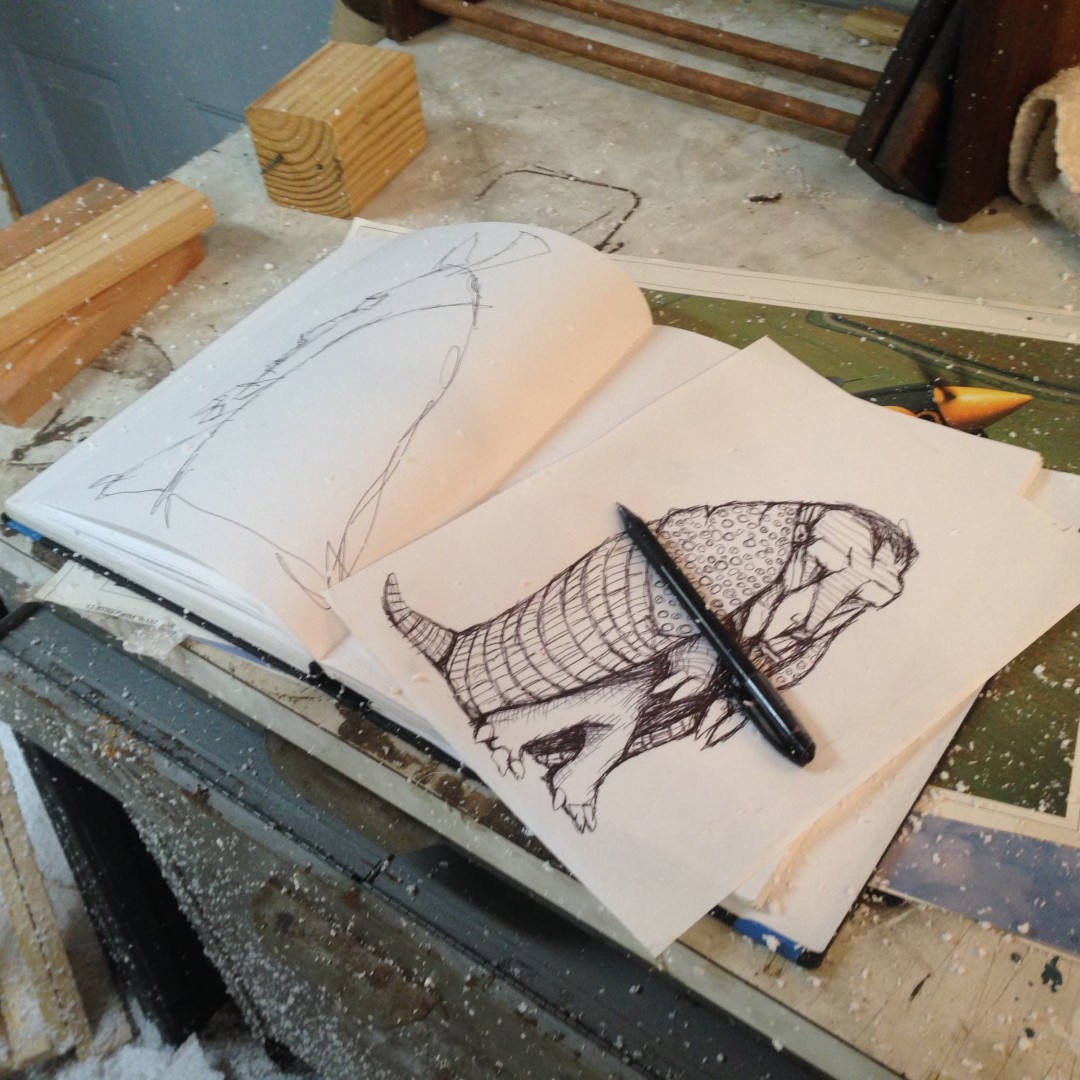
A new sculpture has begun. A self portrait as an armadillo. Yeah, that’s right.
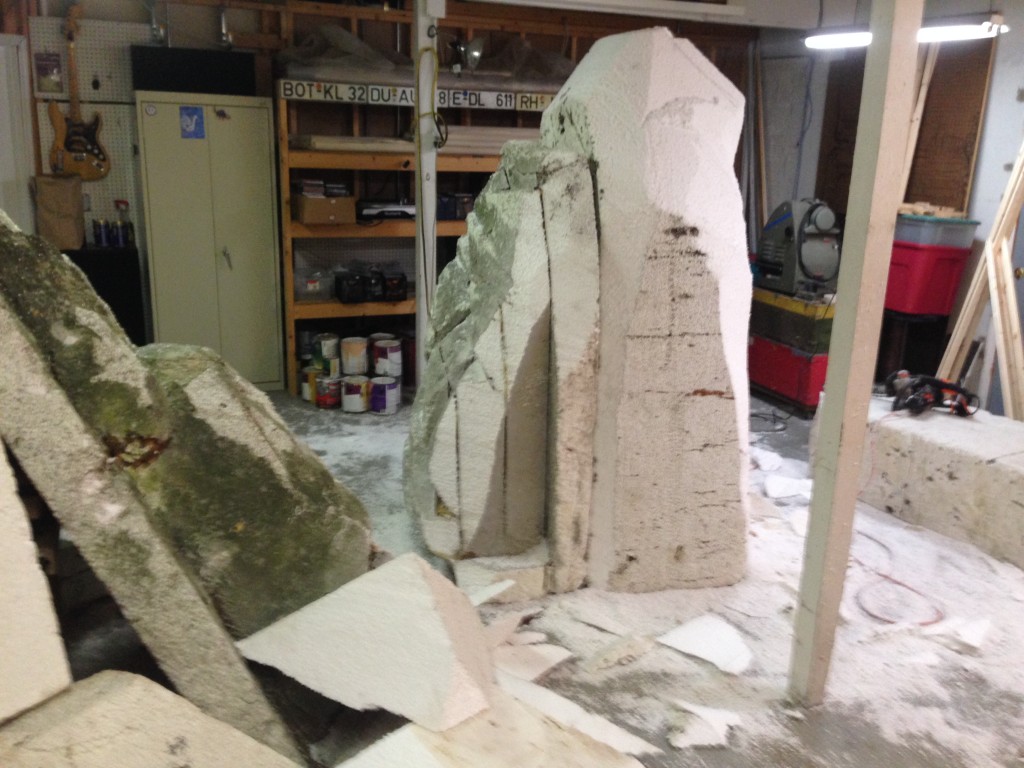
It starts with a couple of big blocks of styrofoam – 25″ x 48″ x 96″ each.

The chainsaw is the primary weapon of attack and is used to make the big initial cuts.
The very first cuts with the chainsaw made a gigantic mess that continued to fill the studio space with tiny styrofoam beads through the entire carving process.

If you look deep enough, you can see some of the cds that were played during this part of the process. There was “foam dust” everywhere.

This is the absolute beginning idea that is emerging from the foam on Day 1. Not exactly what was imagined, at this early stage, but on it’s way.
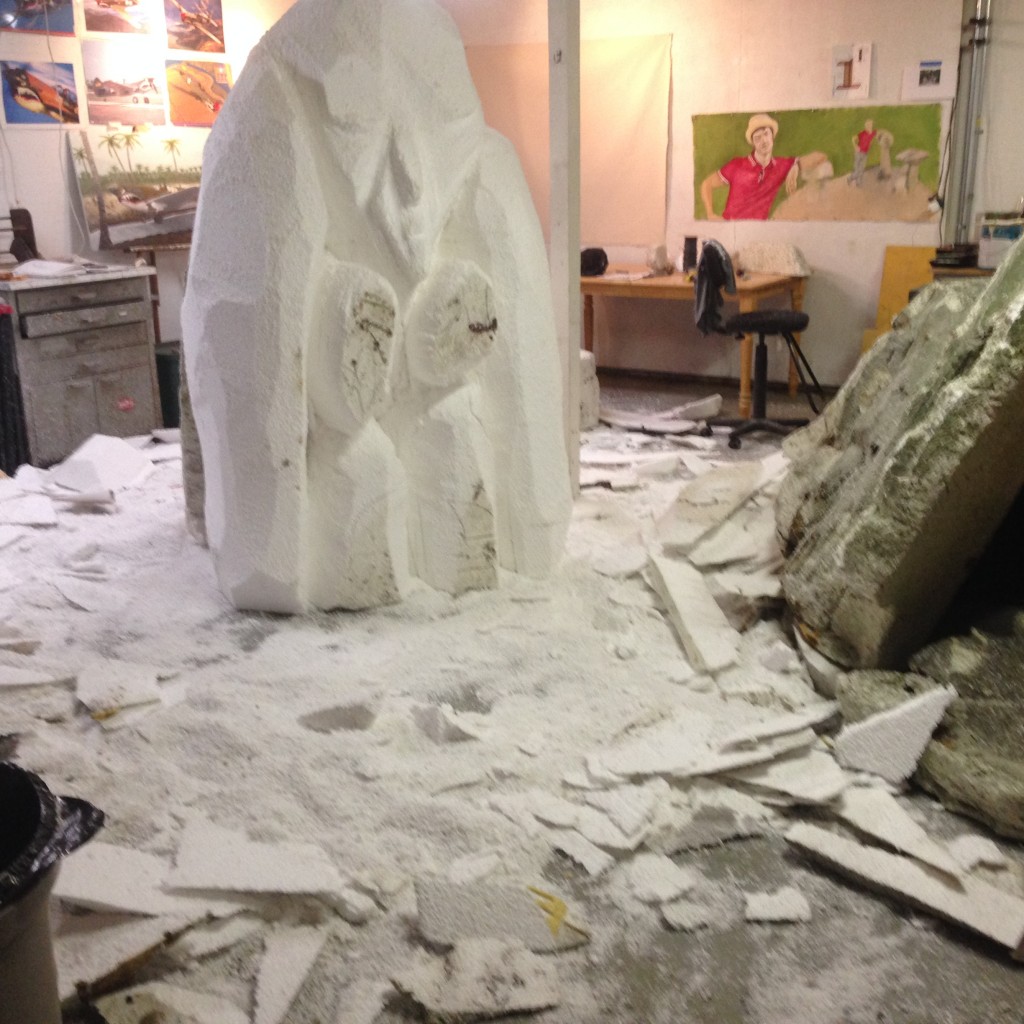
There are a few painting projects in the background that will soon be removed because of the mess from the foam carving.
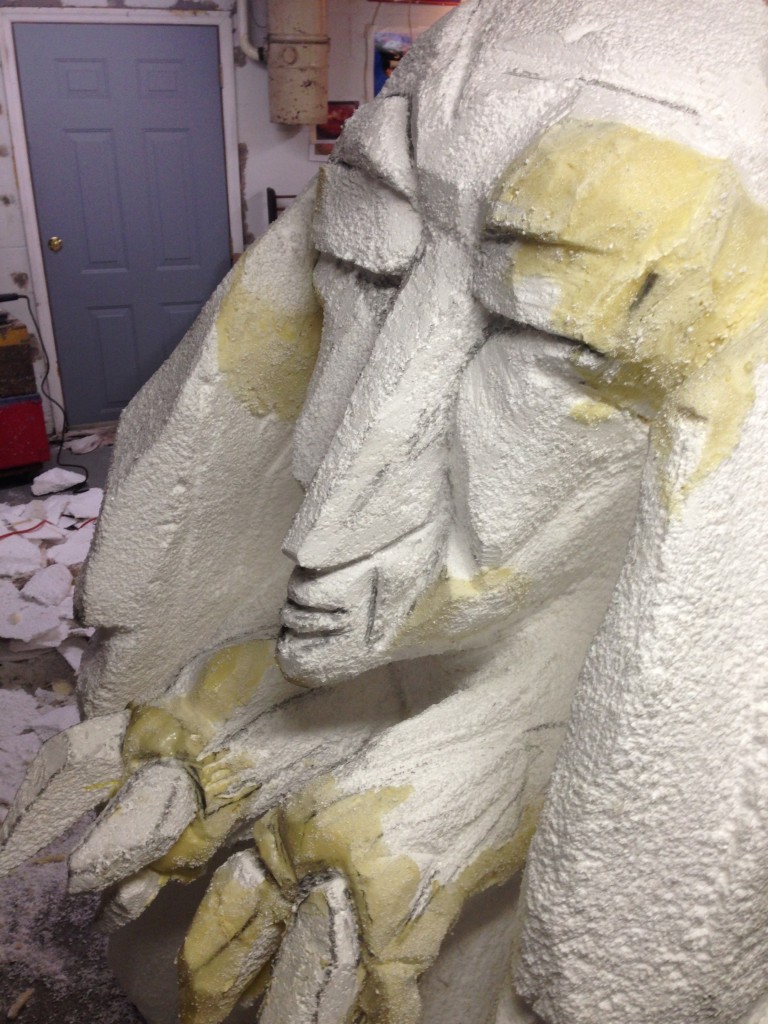
The claws are being added with the sculpture lying on it’s back. The yellow stuff is the styrofoam adhesive that allows pieces to be added to the sculpture.
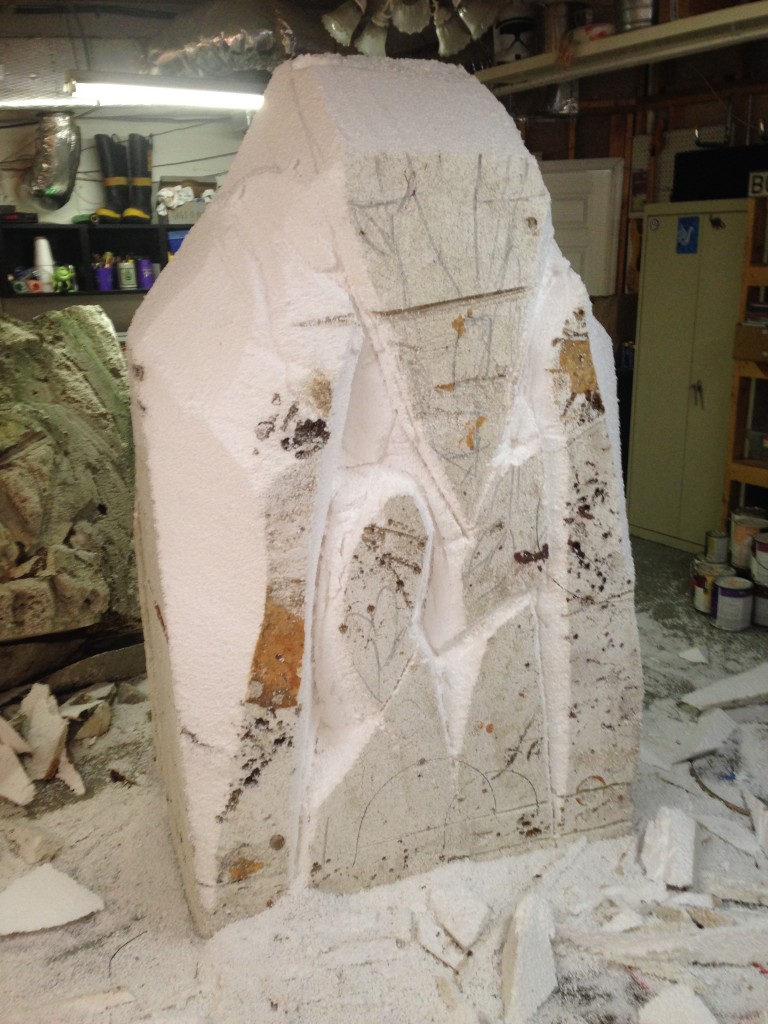
Sketching ideas on the surface with graphite helps visualize.
With the chainsaw in hand, there are constant changes being made. Half the nose has been cut off off and a new mouth has been carved.
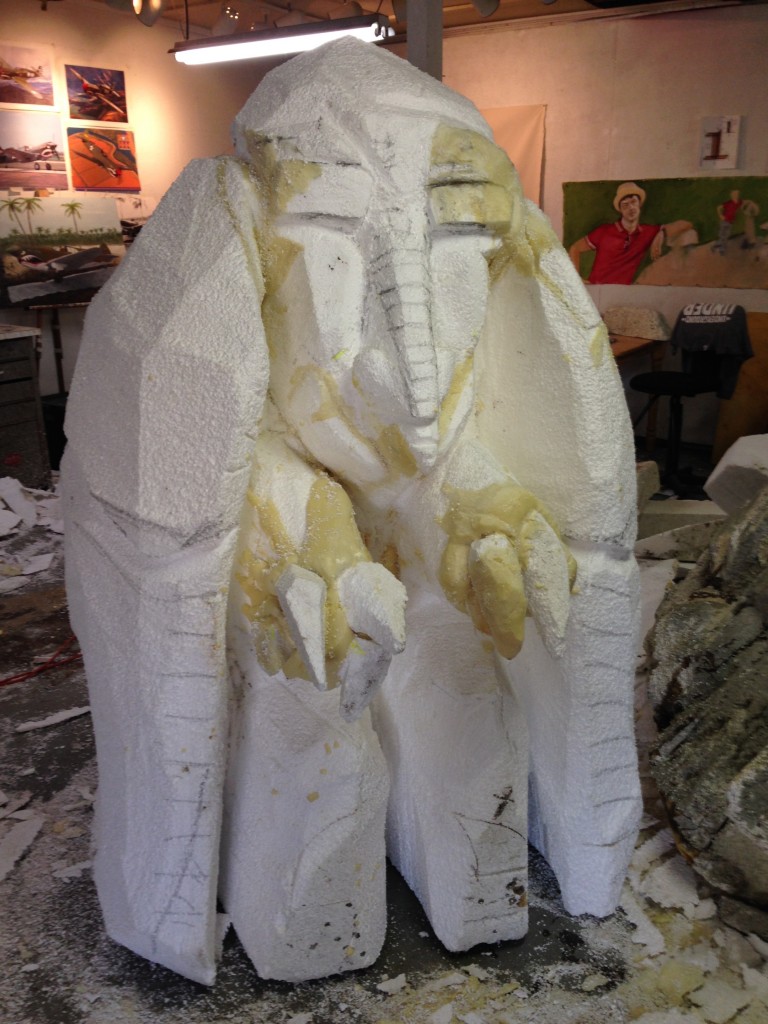
Starting to look like the armadillos that inspired the idea.

About to install the frame inside the two pieces of foam, gluing the back piece to the front piece. After that is assembled, the sculpture won’t fit through the studio doors, so today the sculpture was moved into the front space where never in a million years would one consider making such a mess.
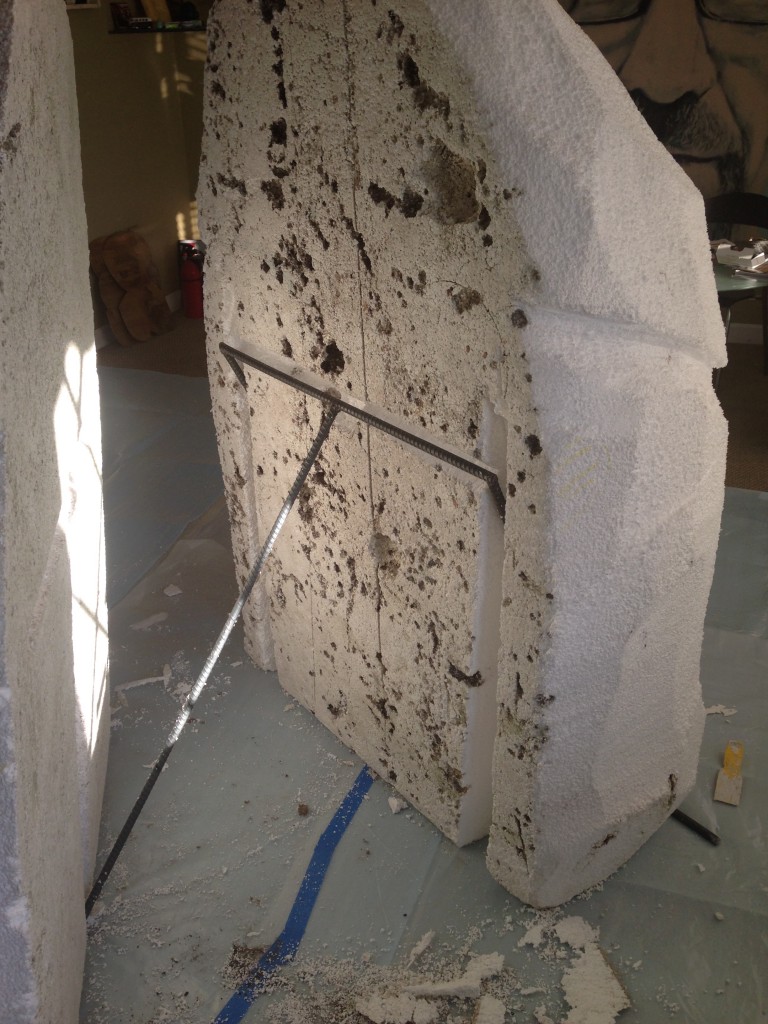
Studio Assistant Big Hondo welded the frame and grooves were cut into the foam to allow the expanding foam to fill it in and hold the frame in place.

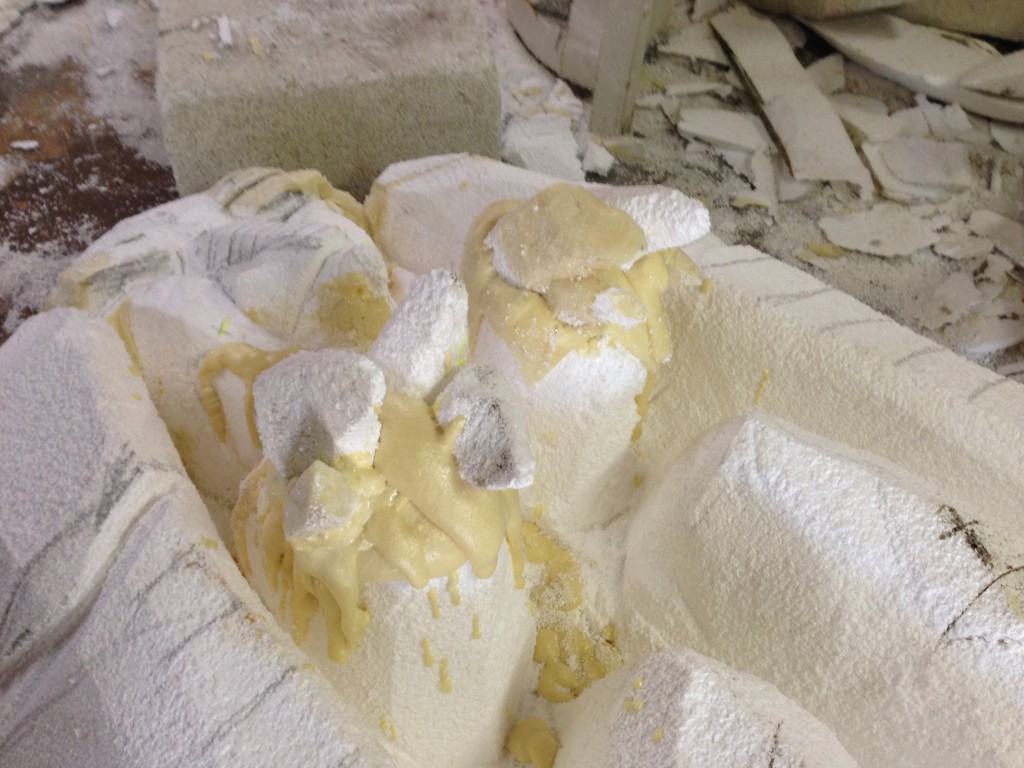
Face down with the frame in place, the front half of the sculpture is positioned to be filled with expanding foam in the grooves.

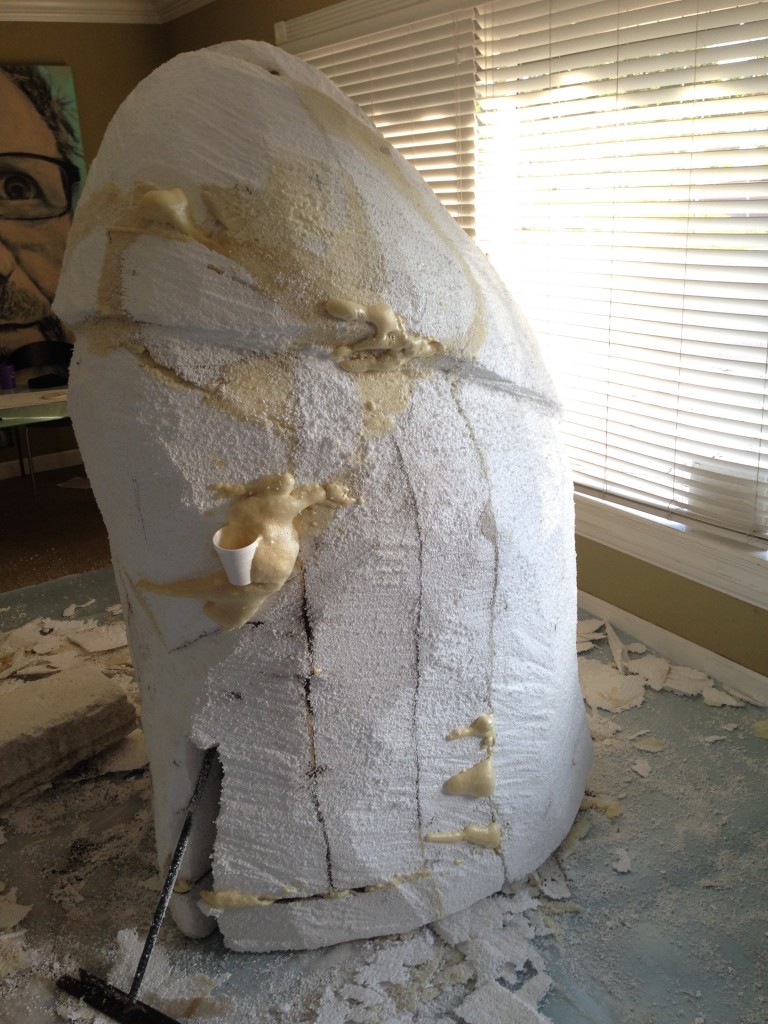
The back is attached after foam was poured over the front piece. It only takes about a minute or two for the expanding foam to start setting up

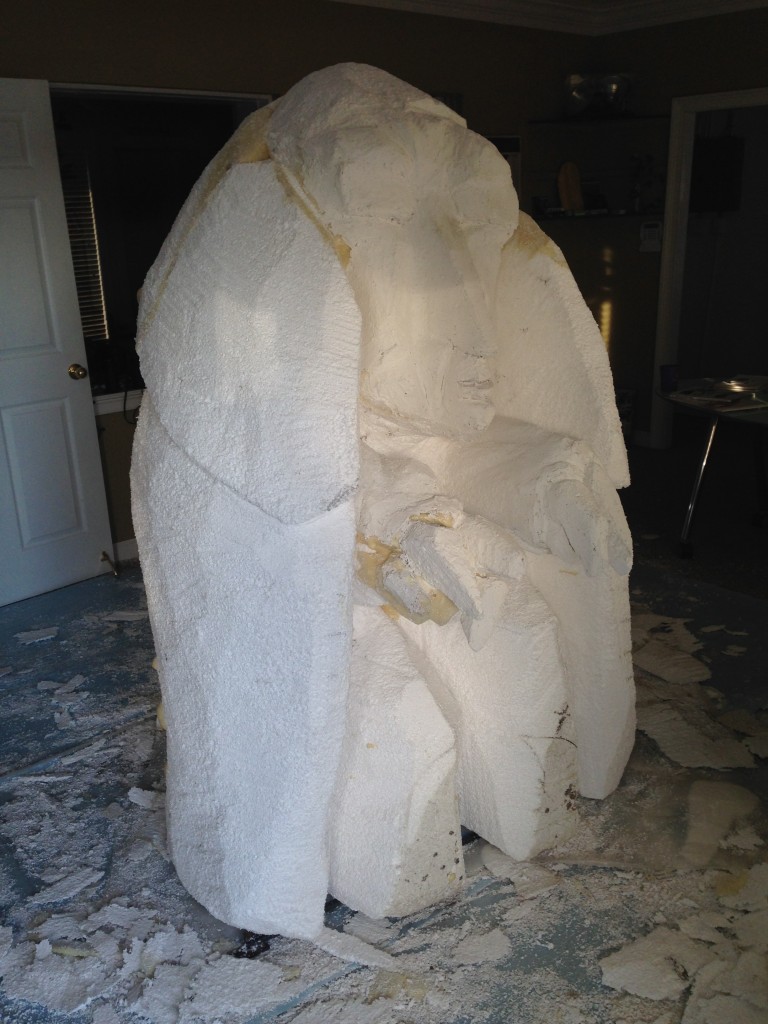
After the two halves have been assembled, more carving starts and more detail has been added to the face and claws.

More sketching on the foam with graphite.

The back shape is being built up by adhering more foam. There’s a cup of the adhesive stuck to the side of it.
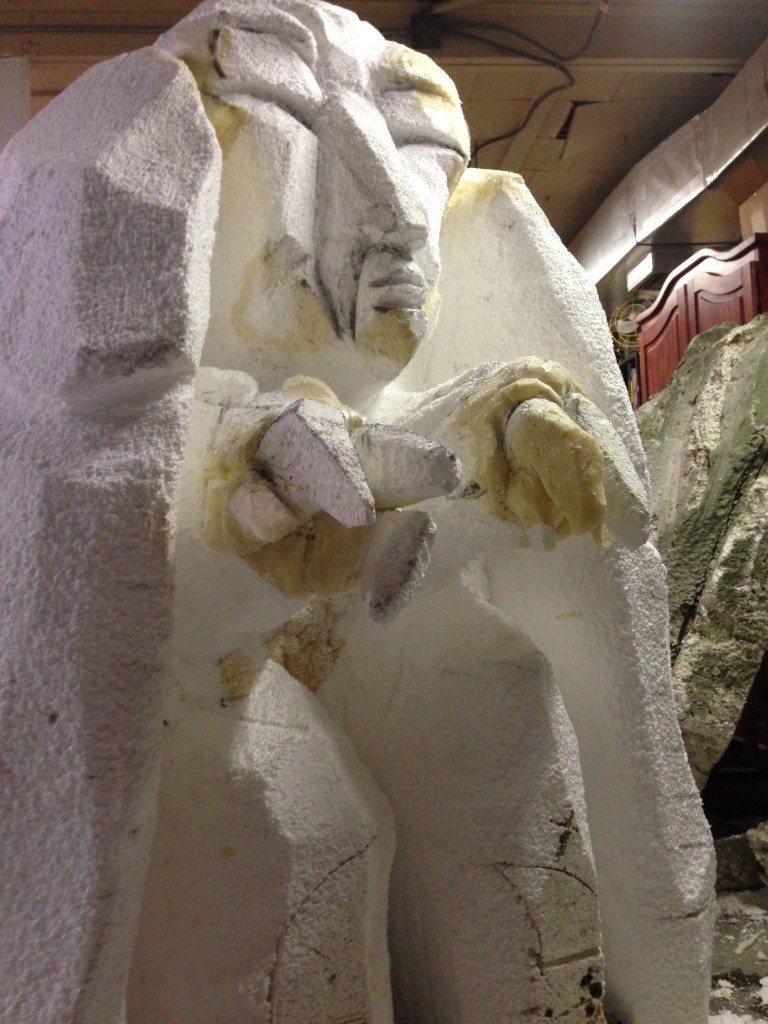
It’s starting to get close to the profile of the original design.
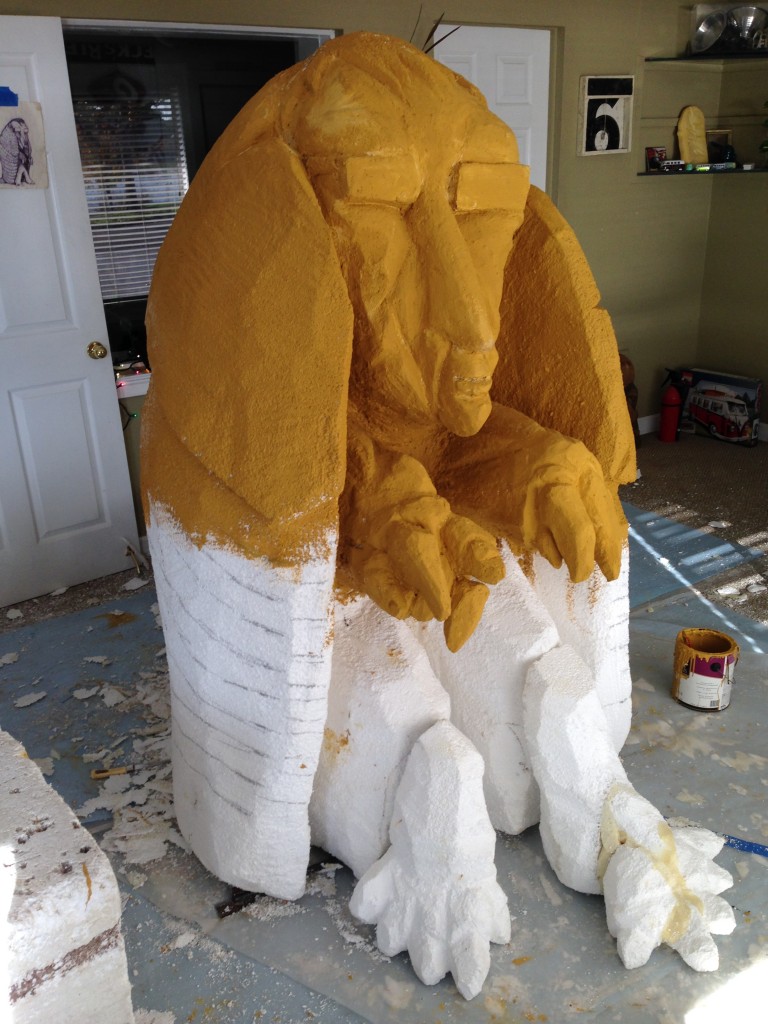
Before the feet are added, it’s time to add some color for more clarity.

A mixture of plaster and paint has an interesting effect on the creature.
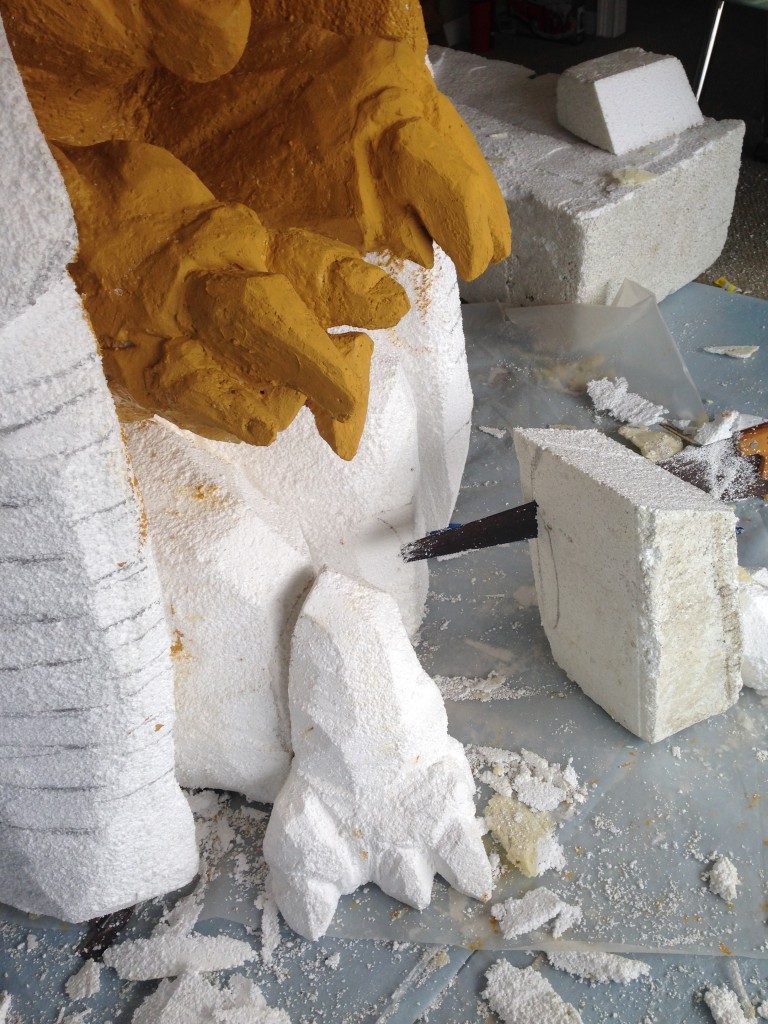
One foot has been roughed out and the second is being carved with a hand saw.

It’s a rather simple process of cutting away, gluing another chunk and cutting away again.
This is looking like the original idea and that’s very satisfying.

The legs are now fastened and painted for a better feel of what this will look like in the end.
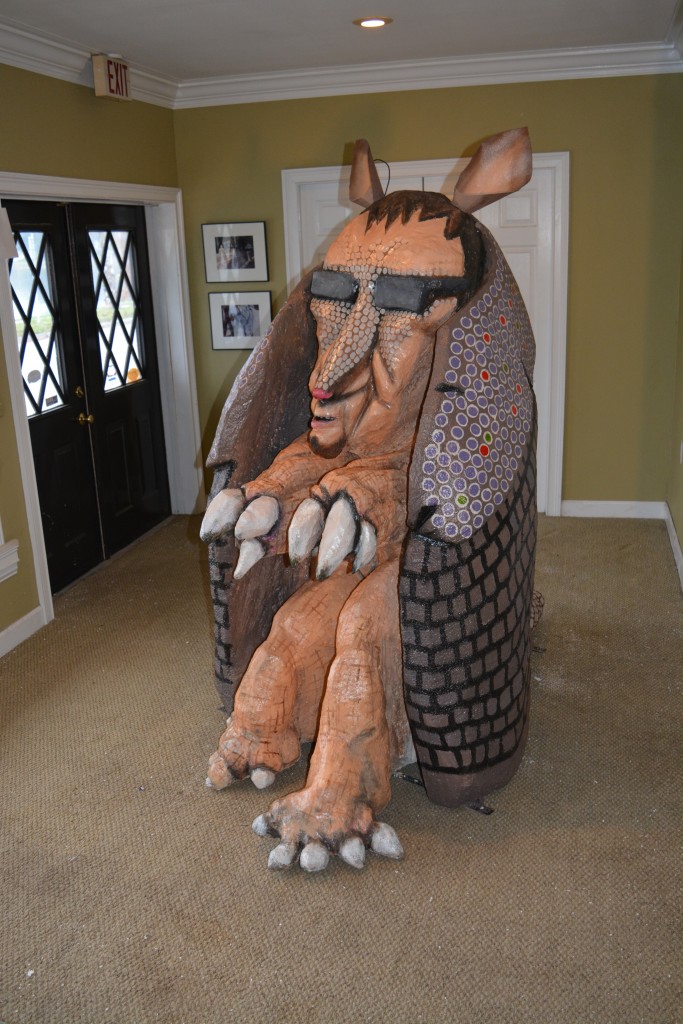
Finally the piece is finished and the room is almost clean again. Here are more images of the sculpture. It has been selected to be in the Florida Outdoor Sculpture Competition in Lakeland. Join us at the Lemon Street Celebration on April 3rd when they announce the winners!